Making Divi pop ups is easy with Divi Den Pro
In this article:
Introduction
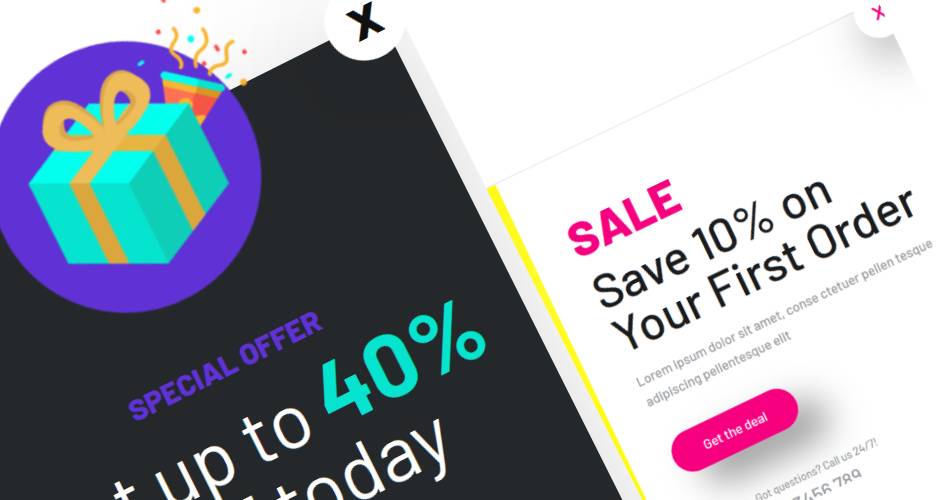
Pop ups are a great way to show various content on a page, that requires your visitors’ attention. Help them find something, surprise them with a promotion, remind them to subscribe to your bulletin, or just show an advertisement. The options are countless!
With Divi Den Pro it is incredibly easy to add a pop up to your website. Choose from a variety of premade pop ups, or create your own, custom one, without stress.
Browse & save
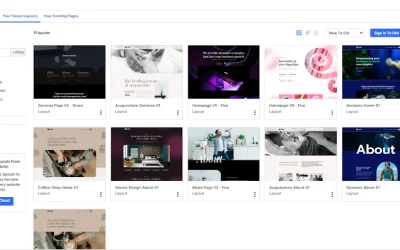
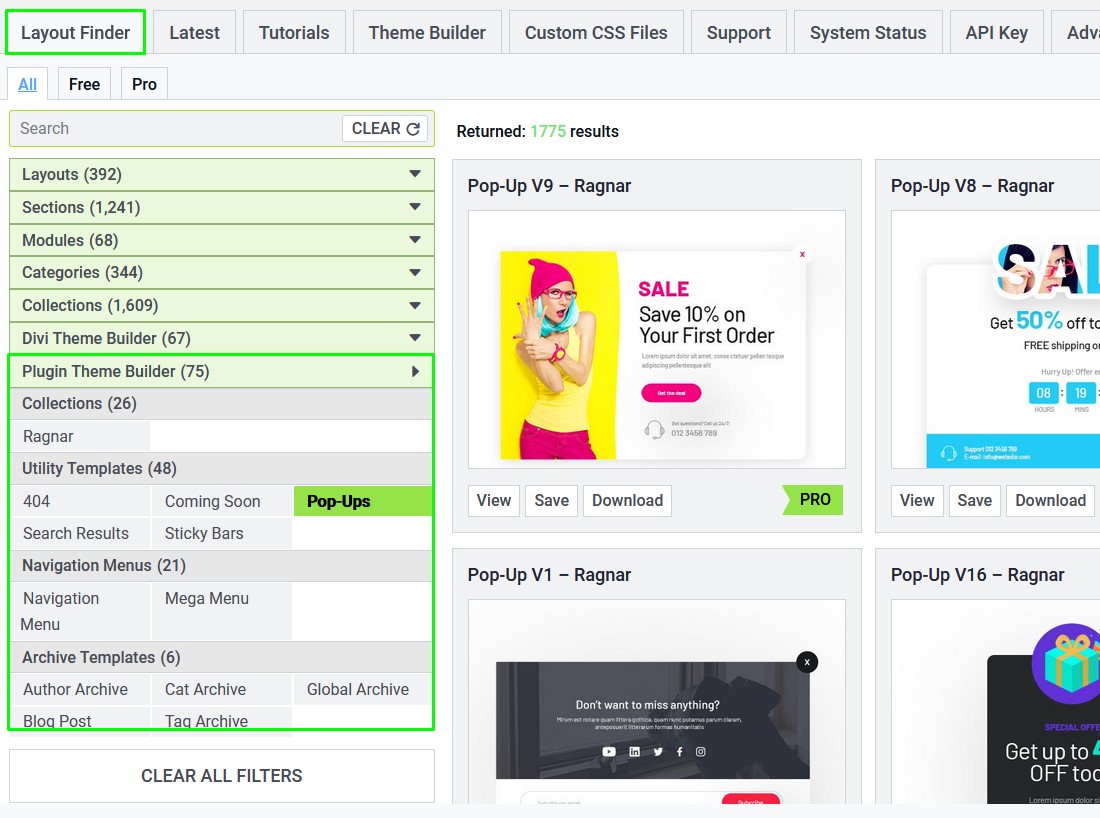
We made a lot of cool Divi pop ups already, and they are all available to you under the Layout Finder tab.
Using filters, toggle Plugin Theme Builder, and select Pop Ups.
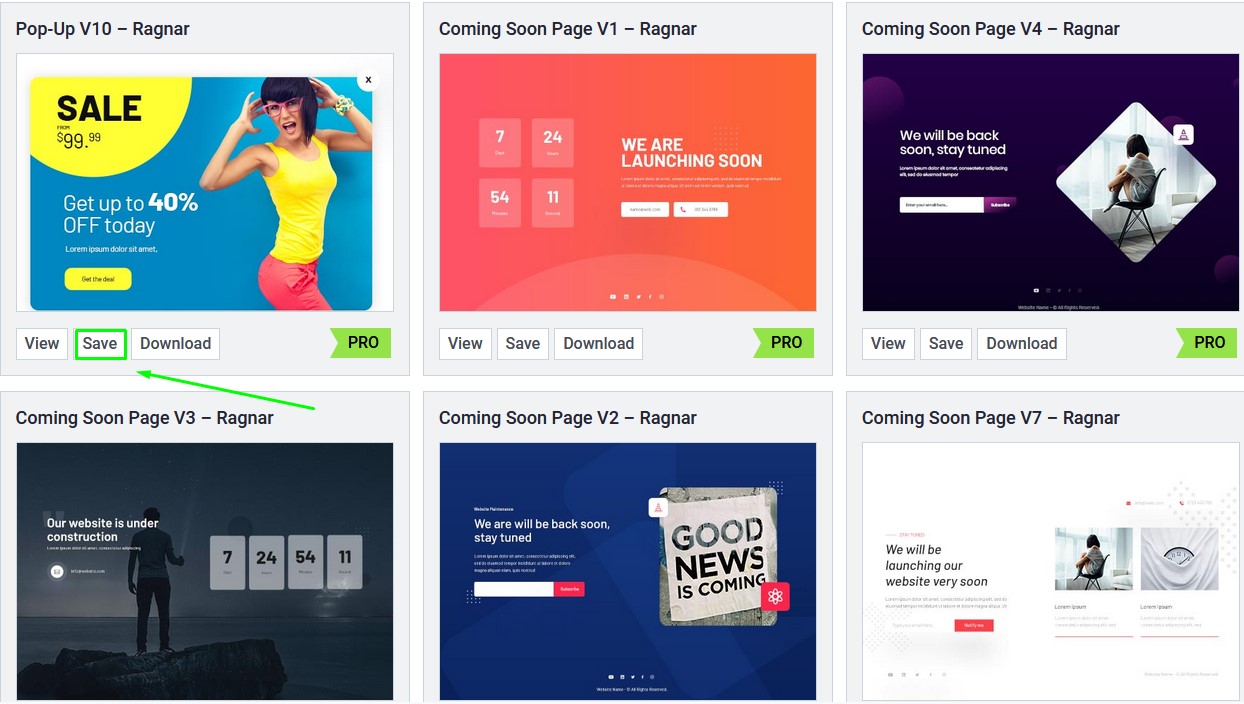
Find the one (or more) that you like the most, and hit the save button to store it to your Divi library.
Enable & settings
Enable the pop up by going to Appearance > Customize. Select Divi Den Pro Global Settings and toggle Pop-up Customizer.

Select your pop up
All the pop ups that you saved are going to show in the drop down menu. Select the one that you would like to display.
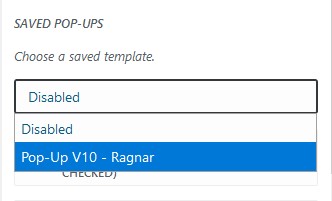
Make sure to show the pop up on page load, by selecting the following option:

Your pop up should now show. Great job!
Additional settings
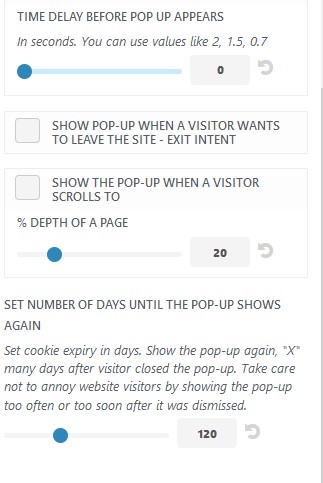
There are a few other things you can set, however, this is optional.
– You can choose to show the pop up after a specific amount of time.
– You can show the pop up only when someone tries to navigate off the page.
– Or, show the pop up once the user scrolls to a particular point on the page.
Clear cookies
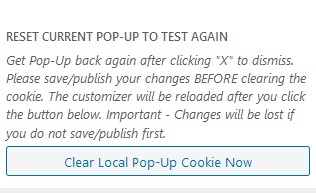
If you close the pop up, you may not be able to see it again until you clear your cookies.
This button is there to help you with that:
Divi Pop ups on clicks
You can also trigger pop ups on a button click. This is done by performing two steps:
-First, save a premade pop up, and second, make a button.
Save a pop up
Do this as already shown at the beginning of the tutorial. Go to the Layout Finder tab, and save a pop up that you like.
Create a button
Go to a page, and insert a button module.
Oh, speaking of buttons, we have a plenty of premade ones, that look just amazing!
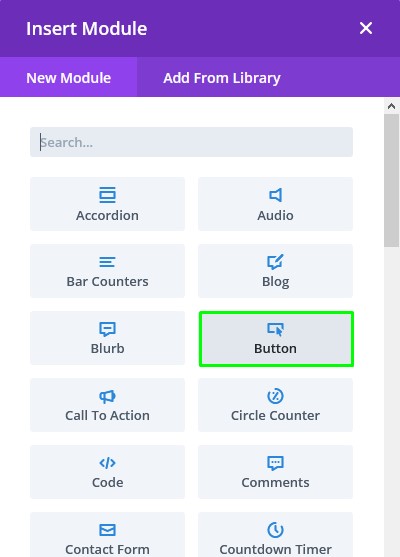
Now go to the button module settings, select the advanced tab, and toggle CSS ID & Classes.
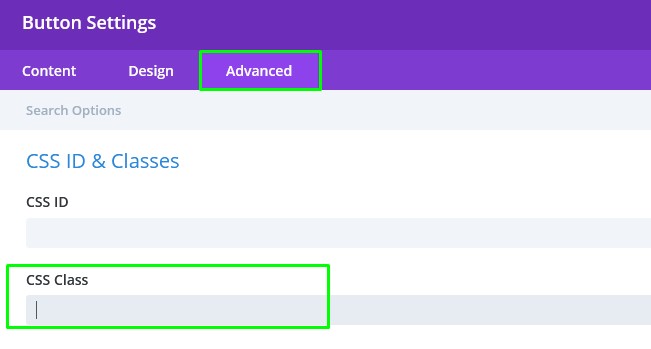
Finally, for the CSS class, copy & paste the class that you need. For example, if you saved Ragnar – Pop Up v1, use the following class: ragnar_pop_up_1.
Here’s the list with all the available classes at the moment:
- Kingly Form Pop-Up – Diana – “popup_contact_form_trigger”
- Renowned Pricing Pop-Up – Diana – “popup_pricing_trigger”
- Great Portfolio Pop-Up – Diana – “popup_portfolio_trigger”
- Striking Search Pop-Up – Diana – “popup_striking_search_trigger”
- Prominent Search Pop-Up – Diana – “popup_prominent_search_trigger”
- Special Search Pop-Up – Diana – “popup_special_search_trigger”
- Salient Search Pop-Up – Diana – “popup_salient_search_trigger”
- Ragnar Pop-Up 1 – “ragnar_pop_up_1”
- Ragnar Pop-Up 2 – “ragnar_pop_up_2”
- Ragnar Pop-Up 3 – “ragnar_pop_up_3”
- Ragnar Pop-Up 4 – “ragnar_pop_up_4”
- Ragnar Pop-Up 5 – “ragnar_pop_up_5”
- Ragnar Pop-Up 6 – “ragnar_pop_up_6”
- Ragnar Pop-Up 7 – “ragnar_pop_up_7”
- Ragnar Pop-Up 8 – “ragnar_pop_up_8”
- Ragnar Pop-Up 9 – “ragnar_pop_up_9”
- Ragnar Pop-Up 10 – “ragnar_pop_up_10”
- Ragnar Pop-Up 11 – “ragnar_pop_up_11”
- Ragnar Pop-Up 12 – “ragnar_pop_up_12”
- Ragnar Pop-Up 13 – “ragnar_pop_up_13”
- Ragnar Pop-Up 14 – “ragnar_pop_up_14”
- Ragnar Pop-Up 15 – “ragnar_pop_up_15”
- Ragnar Pop-Up 16 – “ragnar_pop_up_16”
- Ragnar Pop-Up 17 – “ragnar_pop_up_17”


