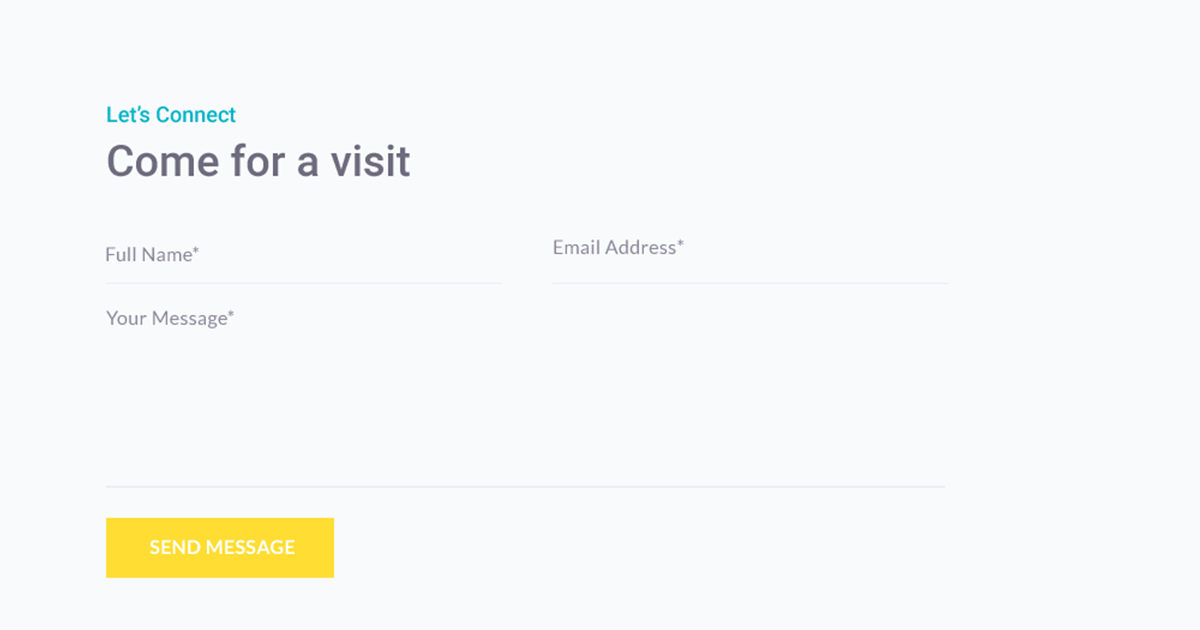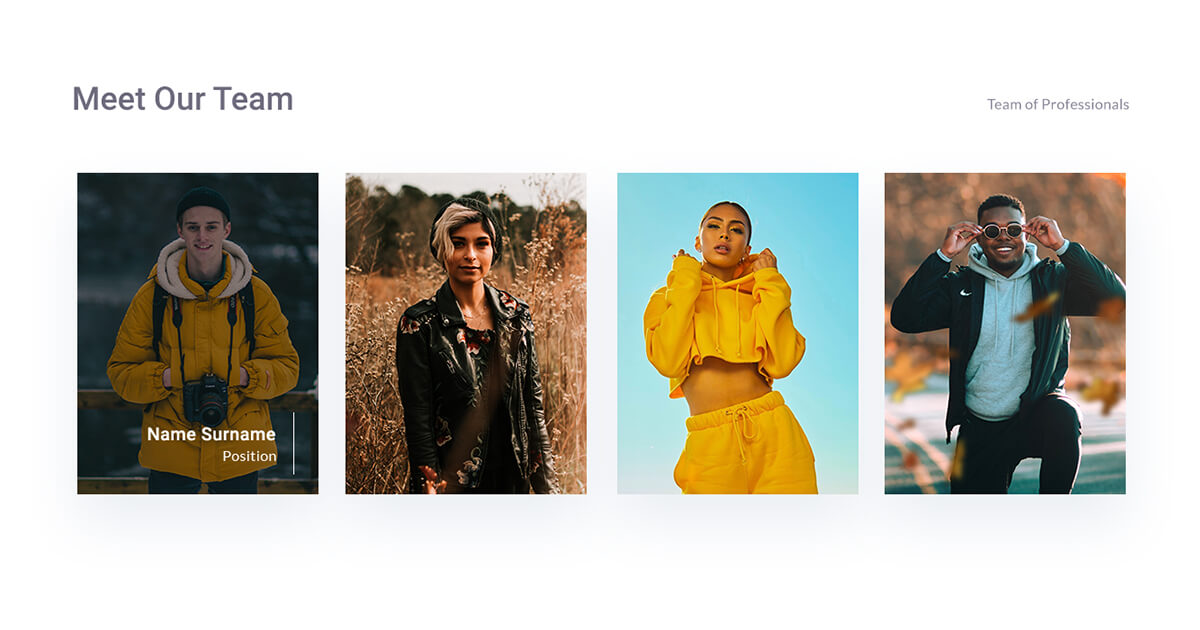
Download Free Person Module .ZIP file [183KB] | View demo moduleHere’s a stunning Divi Person module with a neat hover effect. This is how you can easily create it from scratch by just following the steps below.
Table Of Contents
Creating the Section
1.1. Section structure
Add a new standard section.
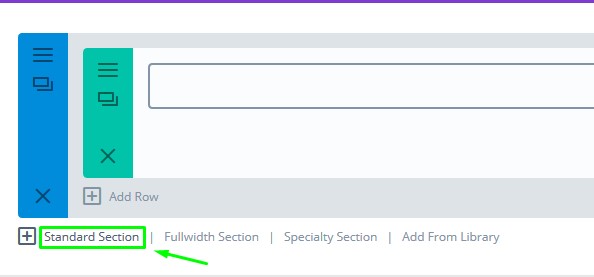
Standard Section
Insert two rows. The top one with two columns, and the other one with four, as shown on the screenshot:
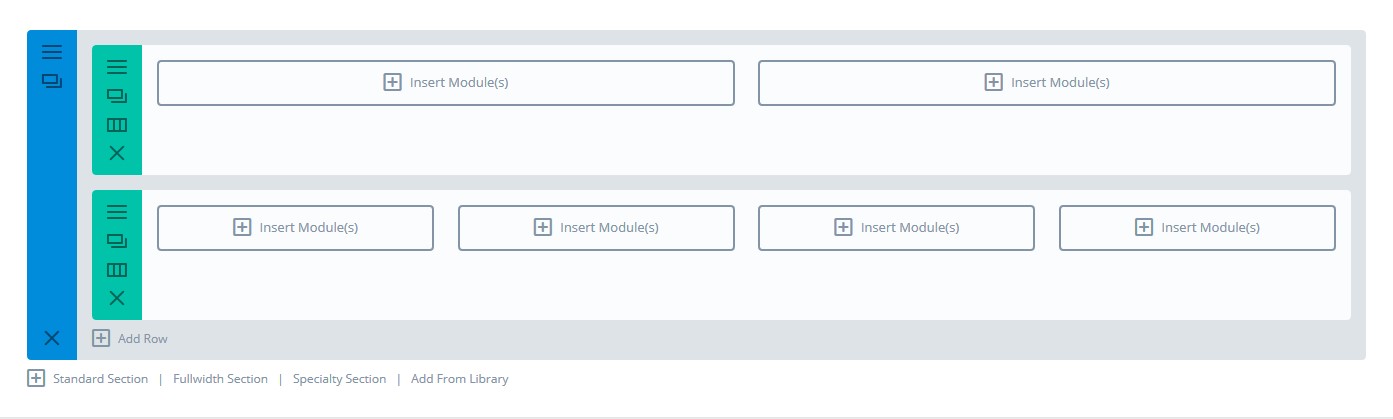
Rows
1.2.Adding the CSS Class
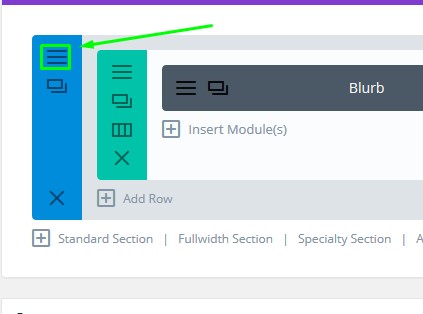
Section Settings
Select Advanced tab, and inside the CSS class field, type: free_sigmund_person
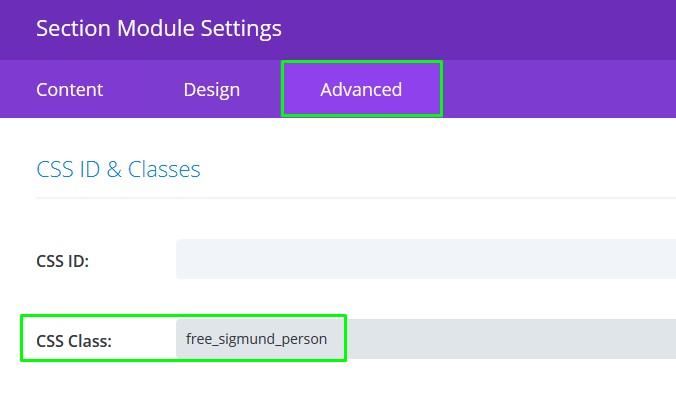
Section Class
1.3 Rows Settings
Click the top row settings.
Select Design tab:
- Set Use Custom Width to – YES and make it 1175px
- Scroll to Spacing section and make bottom Custom padding 0px.
- Also, for the Column2 Padding, make the top one 0px as well.

Spacing Settings
Advanced tab:
- Inside the Column1 Main Element, add this CSS code:margin-bottom: 0 !important;
- Inside the Column2 Main Element, add the same CSS.
Click Save & Exit.
Click the bottom Row settings:
Select Design tab:
- Set Use Custom Width to – YES and make it 1175px
- Set Use Custom Gutter Width to – YES and make it 2
- Scroll to Spacing section. Make the padding: Top: 21px, Bottom: 27px, and 0px to sides.
Advanced tab
- Inside the Main Element box, add this: overflow: visible !important;
- Inside the Column2 Main Element, this: margin-bottom: 0 !important;
Click Save & Exit
2. Inserting the Modules
The top row should have two text modules.
For the first one, let’s add this text: Meet Our Team. Make sure that the text is a paragraph. (Optionally, you can change this if preferred).
Select Design tab.
- Make the font Roboto, medium, #6e6b7d. Font size should be 36px for the desktop and the Tablet , and for the mobile it should be 30px.
- Letter Spacing should be -0.1px and set Text Line Height to 120%
- Set Custom Left margin to -3px, for desktop only
Save the module. Now let’s move to other text module in this row.
Example text: Team of Professionals
Select Design tab:
- Make the font: Lato, Regular, #6e6b7d, 16px
- Letter spacing 0.3px, and the Text Line Height: 28px
- Set the Text Orientation – Right
- Set the Custom Right margin to 3px
Click Save & Exit.
Now the reason we’re here; Insert a Divi Person module in one of the four columns in your bottom row. Add only one for now, and after we make it look good, we are going to clone it to the remaining three columns.
Click the module settings:
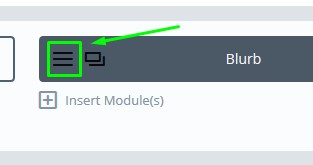
Module settings
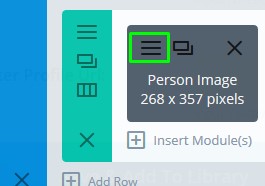
Persons Module Settings
Content tab
- Add a name, position and the person’s image.
- Set the Background to black
Design tab
- Make the title font Roboto, medium, #fff, text orientation – right, Font size should be 20px
- Letter spacing: 0.4px, Title Line Height: 30px
- Body Text: Lato, Regular, Right alignment, #fff, 16px.
- Body letter spacing: 0.4px, line height: 120%
Advanced tab
- Inside the Member Image box, add this CSS: margin-bottom: 0 !important;
Member Description:
- position: absolute;
- padding: 9px 19px 12px;
- bottom: 20px;
- right: 24px;
- overflow: hidden;
Title:
- padding-bottom: 0;
2.1 Clone the module
Now you can clone this module to empty column slots. Of course, update the content of each.
3. Adding Custom CSS
Copy this CSS code:
.free_sigmund_person .et_pb_team_member {

position: relative;

}

.free_sigmund_person .et_pb_team_member .et_pb_team_member_image {

max-width: 100% !important;

}

.free_sigmund_person .et_pb_team_member .et_pb_team_member_image img {

transition: 0.3s !important;

display: block !important;

width: 100% !important;

}
.free_sigmund_person .et_pb_team_member:hover .et_pb_team_member_image img {

opacity: 0.8;

}
.free_sigmund_person .et_pb_team_member .et_pb_team_member_description:before {

content: "";

display: block;

width: 1px;

height: 0;

background-color: #fff;

position: absolute;

right: 0;

top: 0;

transition: 0.3s;

transition-delay: 0.7s !important;

}
.free_sigmund_person .et_pb_team_member:hover .et_pb_team_member_description:before {

transition-delay: 0.3s !important;

height: 100%;

}
.free_sigmund_person .et_pb_team_member .et_pb_team_member_description .et_pb_member_position,

.free_sigmund_person .et_pb_team_member .et_pb_team_member_description h4 {

transition: 0.3s;
transform: translate(100%, 0);

opacity: 0;

}
.free_sigmund_person .et_pb_team_member .et_pb_team_member_description .et_pb_member_position {

transition-delay: 0.5s !important;

}
.free_sigmund_person .et_pb_team_member .et_pb_team_member_description h4 {

transition-delay: 0.3s !important;

}
.free_sigmund_person .et_pb_team_member:hover .et_pb_team_member_description .et_pb_member_position {

transition-delay: 0.7s !important;

transform: translate(0, 0);

opacity: 1;

}
.free_sigmund_person .et_pb_team_member:hover .et_pb_team_member_description h4 {

transition-delay: 0.5s !important;

transform: translate(0, 0);

opacity: 1;

}
/*Responsive*/
@media only screen and (max-width: 1390px) {

.free_sigmund_person .et_pb_row {

width: 90% !important;

}

}
@media only screen and (max-width: 980px) {

.free_sigmund_person .et_pb_row .et_pb_column_1_2:last-child {

margin-right: 0 !important;

}
.free_sigmund_person .et_pb_row .et_pb_column_1_2{

width: 49% !important;

margin-right: 2% !important;

}

}
@media only screen and (max-width: 480px) {

.free_sigmund_person .et_pb_row .et_pb_column_1_2 .et_pb_text {

text-align: left !important;

}
.free_sigmund_person .et_pb_row .et_pb_column_1_2 {

width: 100% !important;

margin-right: 0 !important;

}
.free_sigmund_person .et_pb_row .et_pb_column_1_4{

width: 100% !important;

margin-right: 0 !important;

margin-bottom: 20px !important;

}

}
Go to Page settings:

Page Settings
And paste this CSS inside the Custom CSS box;
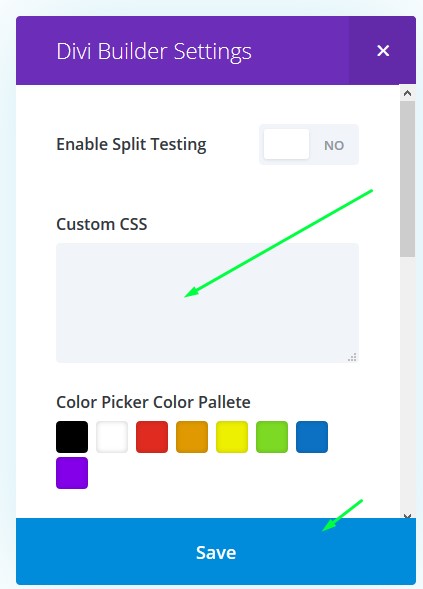
Custom CSS box
That’s it, all done!
Latest Posts
 Divi 5 Update: 61 New Sections Added to Divi Den Pro
 Divi 5 Update: 110 New Sections Added to Divi Den Pro
 Divi Motion Text brings Typing, Highlight, and Word-swap Animations to Your Headlines
 Divi Mask Library | 4,500+ Custom Image Masks for Divi 5
 Divi 5 Update: 42 New Sections and 4 Pages Added to Divi Den Pro